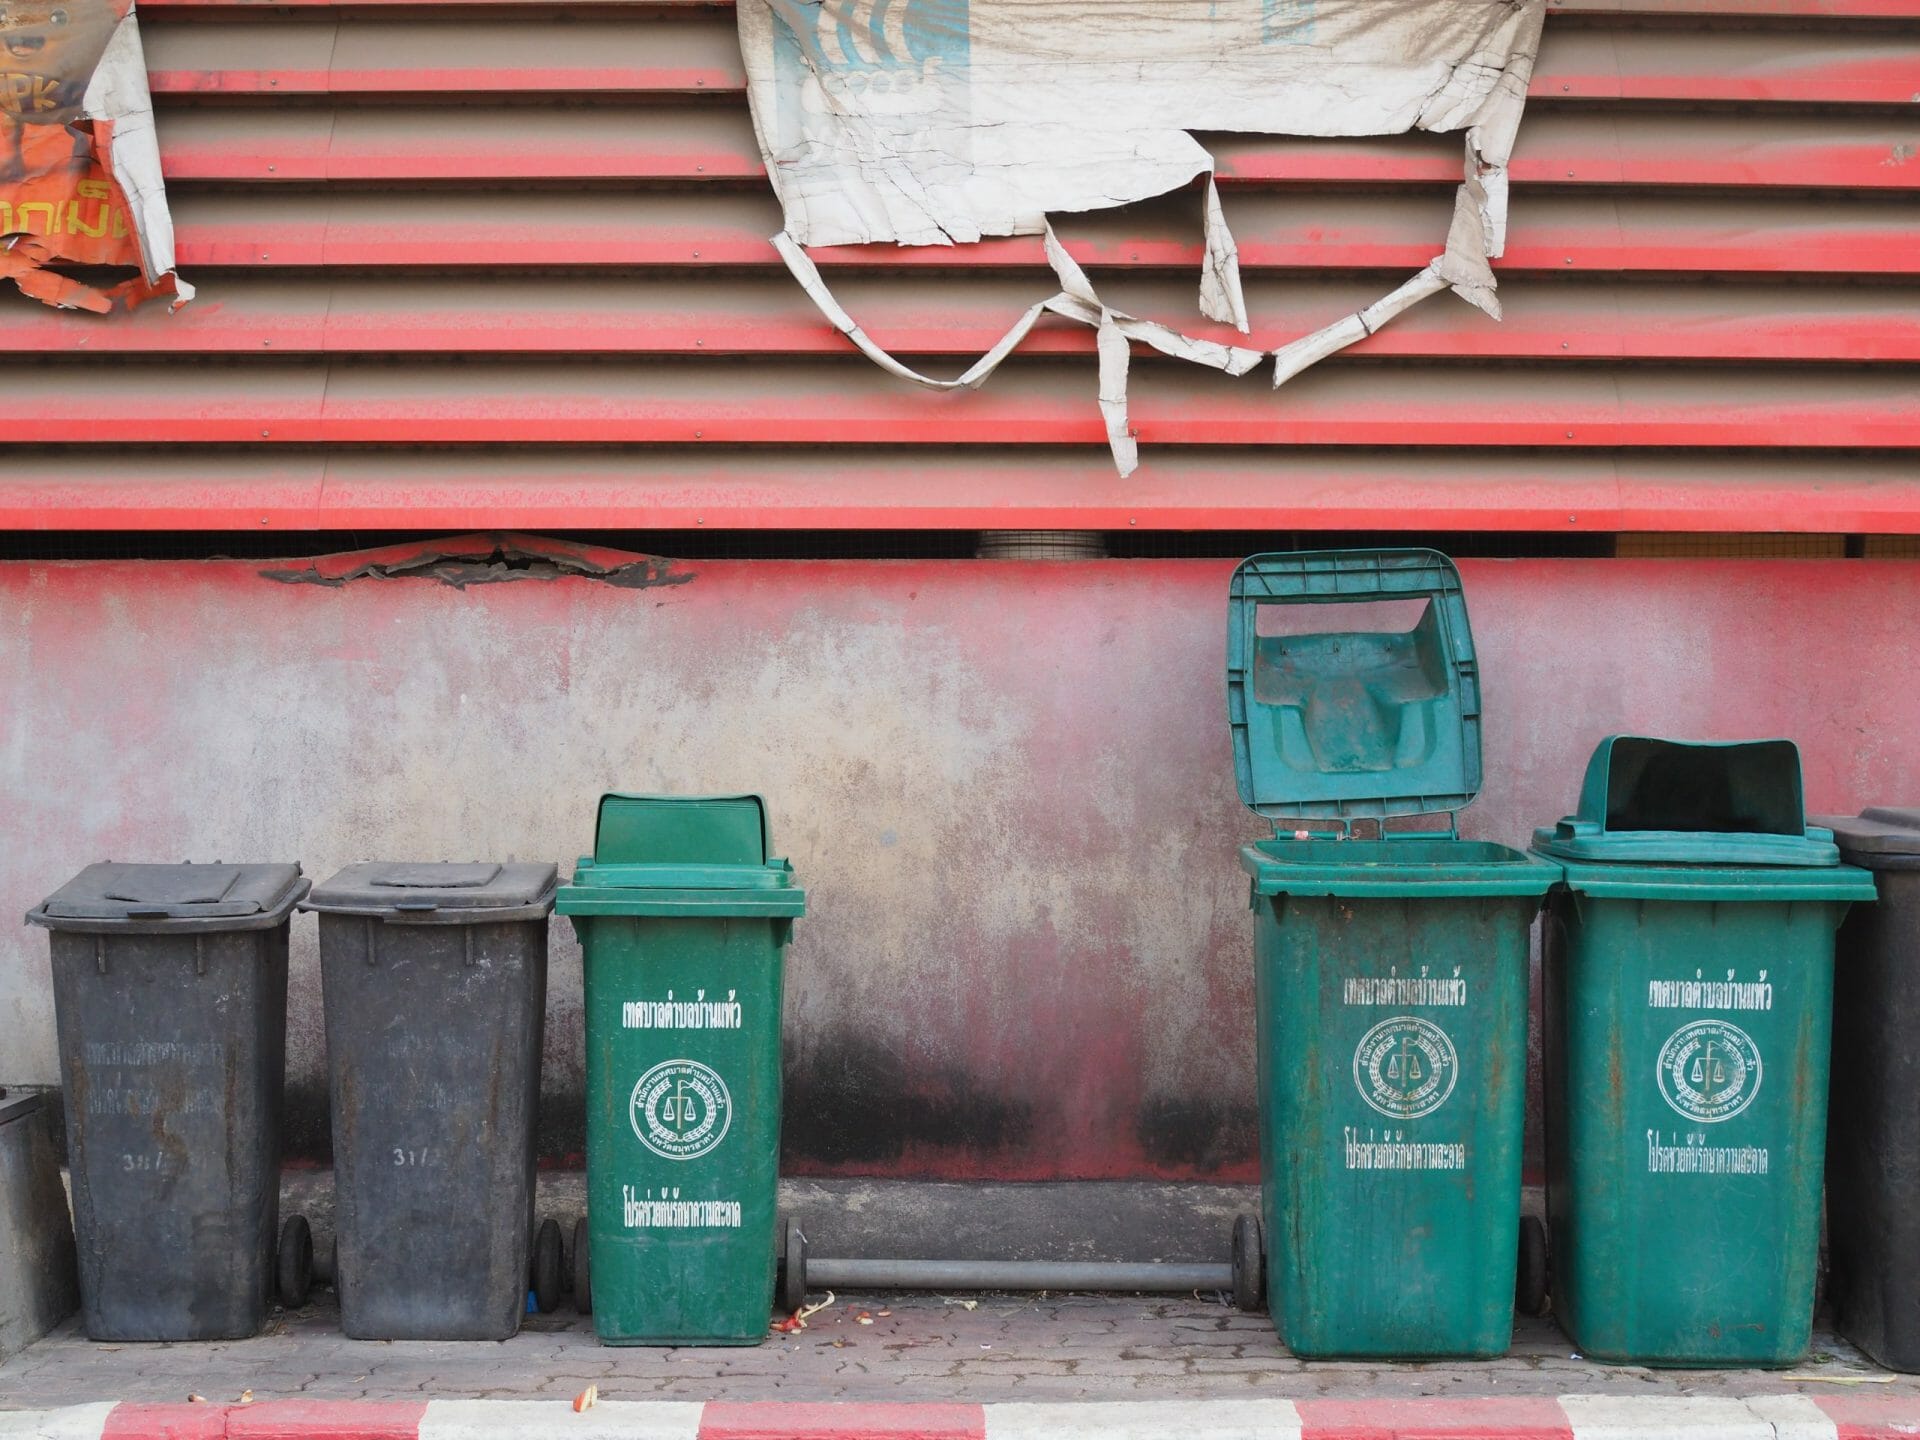
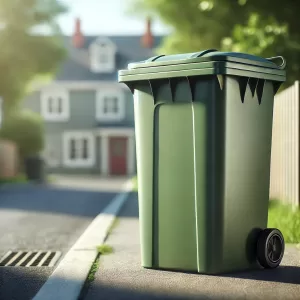
If you think the trash can inside your house stinks, you should smell the wheelie bin outside! The smell is much worse because it sits out in the sun all day, and it generally collects more waste than your indoor trash can. Learning to clean your wheelie bin and remove waste is important.
The Dirty Dilemma
When you add more trash to a wheelie bin and leave it in a very hot place, the trash can bake and produce a terrible smell. You might not pay much attention to it because you only have to deal with it when you take the trash outside. Even then, you probably hold your breath as you speedily open the lid and dump the bag inside. Still, it shouldn’t be that way, and your wheelie bin shouldn’t get to the point where it stinks even when the lid is closed. If you have a lot of waste to get rid of, you can easily prepare by getting skip bins, but what do you do if you don’t have a load of waste to get rid of to eliminate the smell?
What To Do
Yes, cleaning a stinky wheelie bin isn’t fun, but if you clean it correctly more often, you’ll never have to deal with that disgusting smell again! So, check out these detailed steps to see how to clean your wheelie bin properly.
When you clean your wheelie bin, you should wear a mask and rubber gloves that reach your elbows.
| Key Point | Details |
|---|---|
| Importance of Cleaning Wheelie Bins | Cleaning your wheelie bin regularly is crucial to prevent unpleasant odours, especially when bins are left in hot conditions. |
| Initial Cleaning Steps | Wear protective gear like a mask and rubber gloves. Start by removing stuck-on-debris using a long-handled brush and then wet the inside of the bin with a hose. |
| Soaking for Tough Dirt | Soak the inside of the bin with water if there is stubborn dirt. Let it sit for 15 minutes before rinsing. |
| Light Scrubbing | Gently scrub the inside walls and bottom of the bin using a long-handled brush, then rinse the bin to remove any remaining debris. |
| Cleaning with Soap and Water | Mix white vinegar and liquid dish soap in water, then pour it into the bin and use a nylon string mop to clean the inside thoroughly. |
| Rinsing | After scrubbing, rinse the bin thoroughly, ensuring all cleaning solutions is removed. |
| Lid Cleaning | Clean the lid separately using a handheld scrubber or sponge, ensuring both sides are cleaned before rinsing. |
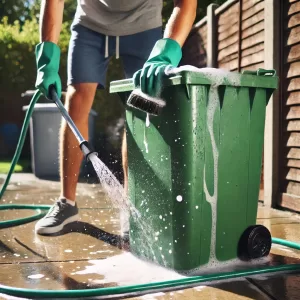
| Outside Cleaning | Don’t forget to clean the outside of the bin. Use a soap and water solution and a scrubbing pad or brush, then rinse with a hose. |
| Sanitising | Use a germ-killing cleaner to sanitise the inside and outsize of the bin, including the lid, using a mop and rag. |
| Final Rinse and Drying | Rinse the bin thoroughly after sanitising, then allow it to dry completely by placing it on a low step or curb, ensuring it airs out before use. |
| Avoiding Oder Buildup | Regular cleaning prevents strong odours. For large amounts of waste, consider using skip bins to minimise the need for frequent wheelie bin cleaning. |
Remove Struck On Debris
When the trash can is empty, remove the lid and set it aside. There may be some loose trash inside and/or gunk stuck to the bottom. To get rid of it, turn the bin on its side with the bottom against a wall and use a long, hard-bristled brush to scrape off as much mess as possible. Clean out the trash and put it in a trash bag.
Wet The Inside
Put the wheelie bin on its side and use a hose to wet the inside. If the trash was wet, spray the inside of the bin with water and then empty it. If there is stubborn dirt at the bottom of the bin, you may need to soak it. To do this, fill the bin with 5 inches of water (or more, if necessary) and let it sit for 15 minutes. Rinse the lid off and let it soak by letting water pool in it. When cleaning a wheelie bin, it’s best to use a high-pressure hose because it’s better at blasting away grime that’s stuck on.
Give It A Light Scrub
Now that the inside is wet and the bottom has had time to soak, use the same long-handled brush to gently scrub the inside of the wheelie bin to get rid of the sludge. Put the bin back on its side and turn it so that you can lightly scrub each of the inside walls and the bottom. Rinse the bin again to get rid of the wet garbage.
Use Soap And Water To Clean
Mix half a cup of white vinegar and 1 cup of liquid dish soap into a bucket of room-temperature water. Give the water a few stirs to mix the ingredients, and then pour the water into the wheelie bin. Keep the ingredients for the cleaning solution on hand in case you need to make a second bucket of it.
Use A Mop
Even though it might sound strange, a nylon string mop is the best thing to use to clean your wheelie bin. It has a long handle and can clean a large area at once. The material is good at getting rid of stains. Start by tipping the wheelie bin forward (ask someone for help) and mopping each side of the inside. Turn the bin as needed and finish by mopping the bottom while it is standing up.
If the water gets too dirty during this phase, replace it with clean water and make sure the mop is well rinsed as well. If your wheelie bin is really dirty, you might want to use a long brush to scrub the inside before mopping it.
Rinse Your Bin
After you have scrubbed the inside of your wheelie bin well, you will need to give it a thorough rinse. Since these bins aren’t exactly light, you’ll need a lot of arm strength to do this. Ask a family member or friend to help you with this.
After cleaning the inside of a wheelie bin with a brush, the best way to rinse it out is to turn it on its side, spray the inside with water, and lift the bottom to empty it. Again, you might have to turn the bin while it’s on its side to get all the cleaning solutions out. This is also a good time to check for any stubborn dirt that you might have missed and can be cleaned right there and then.
Don’t Forget The Lid
Since you don’t have to worry about depth when cleaning the lid, you can use a handheld scrubber or brush instead of a tool with a long handle. First, pour out the water that has been soaking the lid and wash it. Next, put some liquid dish soap on the inside of the lid and brush it clean with a sponge. Before you rinse both sides clean, turn it over and do the same thing to the top.
Wash The Outside
Don’t just clean the inside of your wheelie bin and forget about the outside, which can also get dirty and smell bad. To do this, just wet the surface, make a soap and water solution, and use a scrubbing pad or brush to clean all sides of the bin. Use a hose to rinse off the cleaning fluid from the outside.
Sanitise
This can be done with any cleaner that kills germs. Just follow the label’s instructions to make a solution that you can pour into the bin. Again, take the mop, which should be clear by now, and mop the inside of your wheelie bin from top to bottom. Then, use the wet mop to clean the outside of your bin. Use a rag and a disinfectant of your choice to clean both sides of the wheelie bin lid. Once the bin is dry, put the lid back on.
Rinse And Dry
Pour out the disinfectant solution and start giving your wheelie bin one last rinse. Now, turn the bin over and set it on a low step or curb to dry it out properly. Don’t put your wheelie bin flat on the ground. This will keep moisture inside, which will cause mould to grow. After the wheelie bin and lid have dried completely, put the bin back on its feet and let it air out for a few hours before putting the lid back on. After this, you can use your wheelie bin again.
Cleaning out your wheelie bin is not a fun job, and it’s made 10 times worse if you wait until it stinks too much to do it. Remember that if you have a lot of waste to get rid of, you can help minimise the smell and need to wash your bins too frequently if you arrange skip bins.


Leave A Comment